고객지원
BIOS Update Procedure Locally (Windows)
This utility works in Microsoft® Windows 7 (32 / 64 bit), Windows 8 (32 / 64 bit), Windows 8.1 (32 / 64 bit), Server 2008 R2 SP1 (64 bit), Server 2012 (64 bit),Server 2012 R2 (64 bit).
- Download the BIOS package (WinZip format with .zip file extension). And close all programs.
- Unzip and save all files to the same directory of any storage location accessible by the host system.
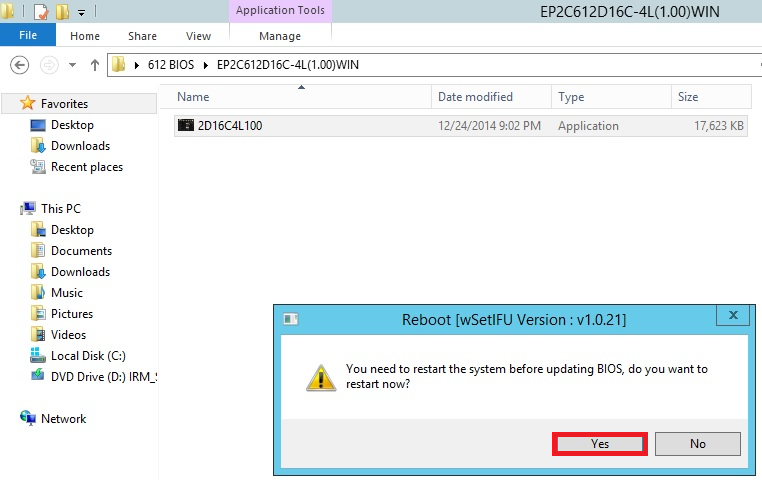
- Click BIOSfilename.exe

- It shows a dialog icon to remind you need to restart the system before updating BIOS. Click "Yes".
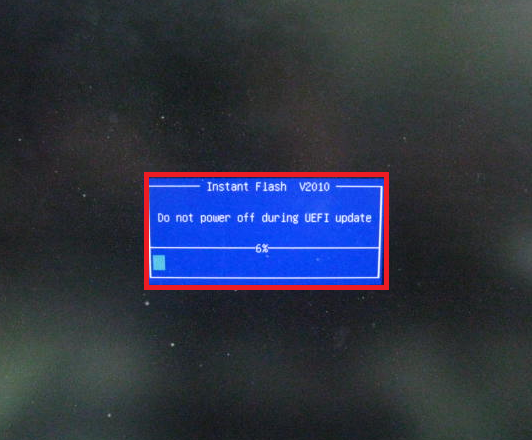
- System will auto restart, and update BIOS. Please DO NOT power off during BIOS update.
- After update success, it will pop up below massage. Please press Enter to reboot system.

- After system restart, press [F2] or [Del] to enter the BIOS setup utility during boot up to check BIOS version.

- In Exit menu, please select "Load Default Settings" and press [Enter] to continue.
- Select "Exit Saving Changes" and press [Enter] to exit the BIOS setup utility.
- Now, system is booting up with new BIOS.
If you encounter problems while updating the new BIOS, DO NOT turn off your system since this corrupt BIOS might cause your system failed to boot up. Just repeat the process, and if the problem still persists, update the original BIOS file. If the Flash Memory Writer utility was not able to successfully update a complete BIOS file, your system may not be able to boot up. If this happens, your system will need service